Mounting SMB to Ubuntu Server on Boot
Recently I’ve setup my custom built NAS server using an refurbished HP EliteDesk 800 Small Form Factor PC. The goal of this was to move my storage out of my primary home server that I had for my Immich instance.
I’ve booted the storage NAS using TrueNAS and created a SMB share to connect to my primary home server.
So for binding my NAS SMB Share to my Ubuntu Server on boot, I had to do following steps.
- Install
cifs-utils
Run the following command to install cifs-utils in the primary home server.
sudo apt-get updatesudo apt-get install cifs-utils- Create a credentials file
In order to mount the SMB Share, we need to create a credentials file and add the username and password of the NAS server. Create the following file under /etc/samba/credentials.
# It can be any path.sudo nano /etc/samba/credentialsAnd add the following line to the file.
username=<NAS_USERNAME>password=<NAS_PASSWORD>domain=<NAS_DOMAIN> # Usually it is WORKGROUP- Create a mount point
# It can be any path you want the storage media to be mounted tosudo mkdir -p /mnt/nas- Add the mount point to fstab
sudo nano /etc/fstabAnd add the following line to the file.
# ... previous lines
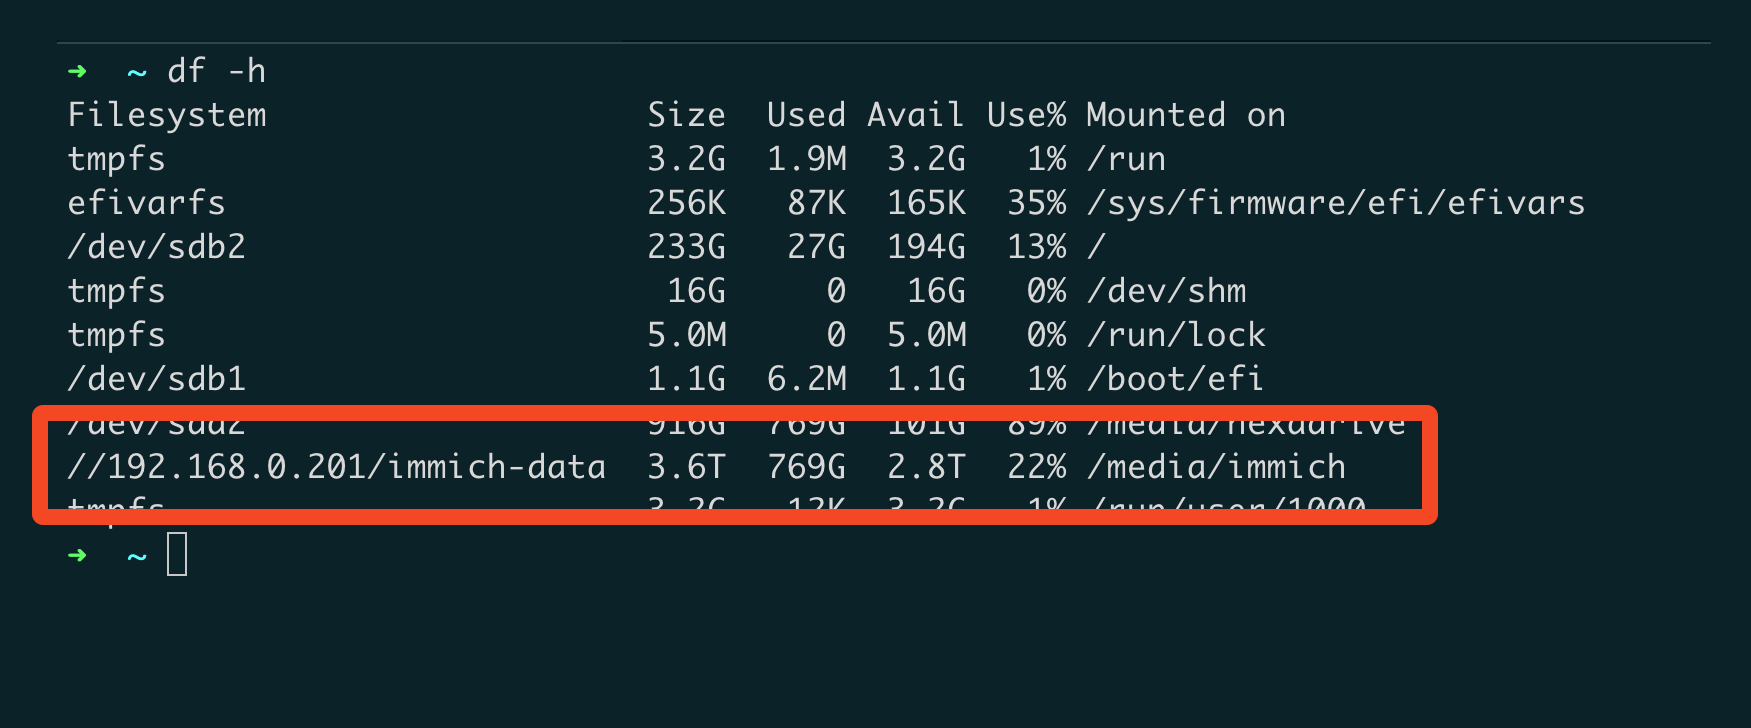
# Add the following line to the file//<NAS_IP_ADDRESS>/<SMB_SHARE_NAME> /mnt/nas cifs credentials=/etc/samba/credentials,uid=1000,gid=1000,x-systemd.automount 0 0Replace <NAS_IP_ADDRESS>/<SMB_SHARE_NAME> with the IP address of your NAS server and the name of the SMB share you created in your NAS server. In my case it was //192.168.0.201/immich-data.
- Mount the SMB Share
sudo mount -a- Reboot the server
Once the server reboots, the SMB Share should be mounted to the mount point you specified in the fstab file.
Check the mount point by running the following command.
df -h